Connecting COMPUSHIFT to GM Crate Engine Control Systems
Overview
This document describes how to connect a COMPUSHIFT controller to any of the GM Crate Engine Control System packages. This system is known to work properly on the GM crate engine packages, but may not work on a reflashed ECU from a donor vehicle.
Making the Harness Connections
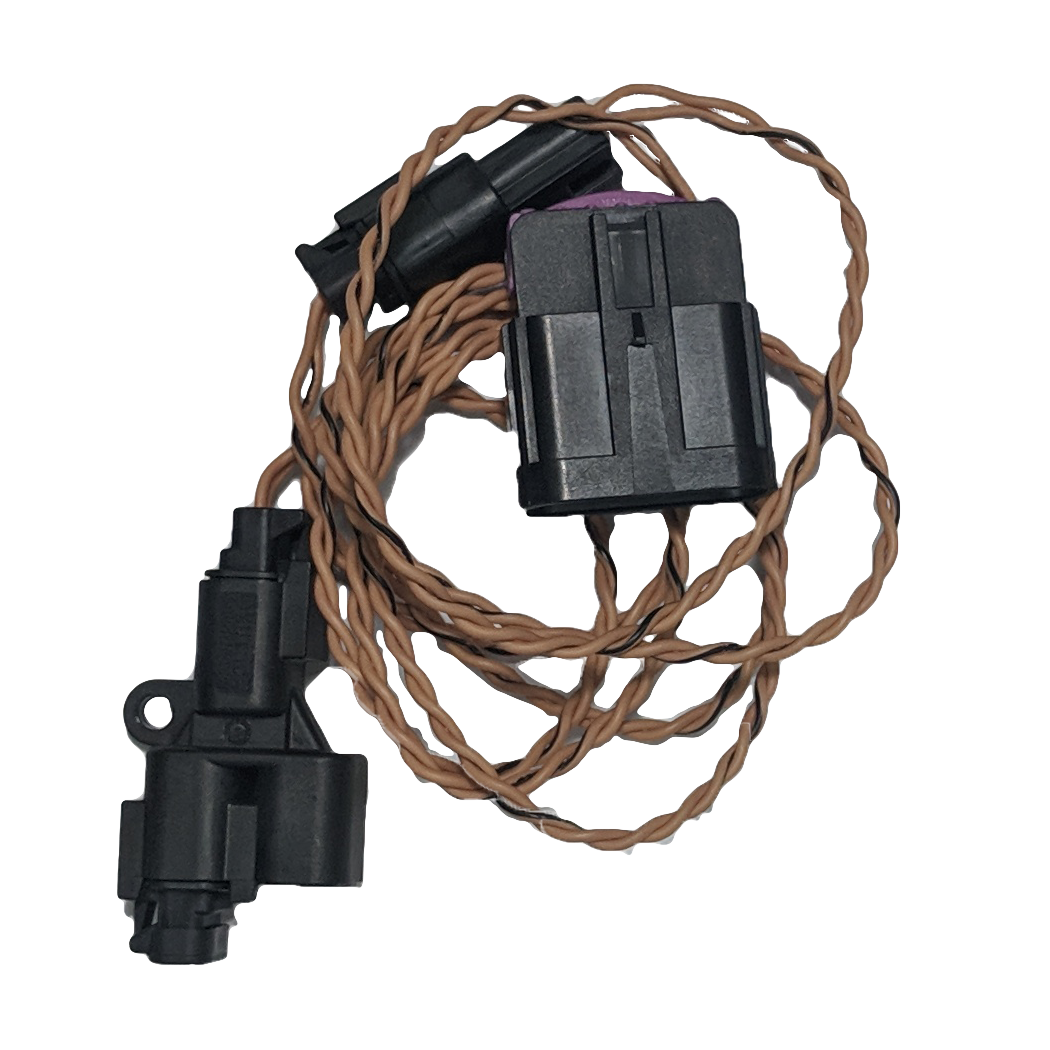
The harness provided by HGM for this configuration is part number CAN-3, and looks like this:

CAN-1 Harness
The gray two pin Deutsch connection on the COMPUSHIFT harness plugs into the black “T” connector shown on the left of the picture above. The other end of the harness plugs directly into what GM calls the Bulkhead Connector. The connections in the harness are as follows:
From | To | Description |
|---|---|---|
HGM CAN-3 Harness - | GM Bulkhead Connector - Tan/Black (Pin G). | CAN + |
HGM CAN-3 Harness - | GM Bulkhead Connector - | CAN - |
We recommend you solder and shrink sleeve the connections, but splices may also be used.
System Setup
With the wiring complete per above, turn on the vehicle but do not start the engine. Then do the following steps:
On the COMPUSHIFT Setup app or handheld display, navigate to the “Vehicle Setup Menu”.
Ensure that the transmission type is set correctly.
Set the engine type on the COMPUSHIFT controller to “GMLAN 1 Gasoline”.
Navigate to the dashboard on the setup app.
Start the engine. Confirm that the engine speed and throttle position are reading correctly on the display and that you have no trouble codes.
Do NOT drive the vehicle until you have confirmed CAN communications are working properly and you have no trouble codes.
You can diagnose CAN bus problems by going to Diagnostics / Network Diagnostics on the CS Setup App. The CAN 1 Receive Count should be steadily increasing when the ECU’s are communicating correctly. The error counts should always be 0. If you do have errors, confirm that the CAN bus baud rate is set to 500kb in Network Setup.
Technical Notes
The GMLAN protocol broadcasts several different signals that are related to the percentage of engine torque requested, and not all of these are available on all GM engine controllers. If you find that you do not get throttle signal on “GMLAN 1 Gasoline” settings, try the “GMLAN 2 Gasoline” setting. This setting uses the reported accelerator pedal position which can be used in applications that do not have factory cruise control.
