
Installing and Using an Overdrive Cancel Switch
Overview
For certain transmissions, some COMPUSHIFT controllers provide an overdrive cancel function through the use of a pushbutton switch.
The controller requires a push button normally open switch that connects to ground when pressed. Some HGM controllers offer an output to drive an LED to indicate when the overdrive cancel function is enabled.
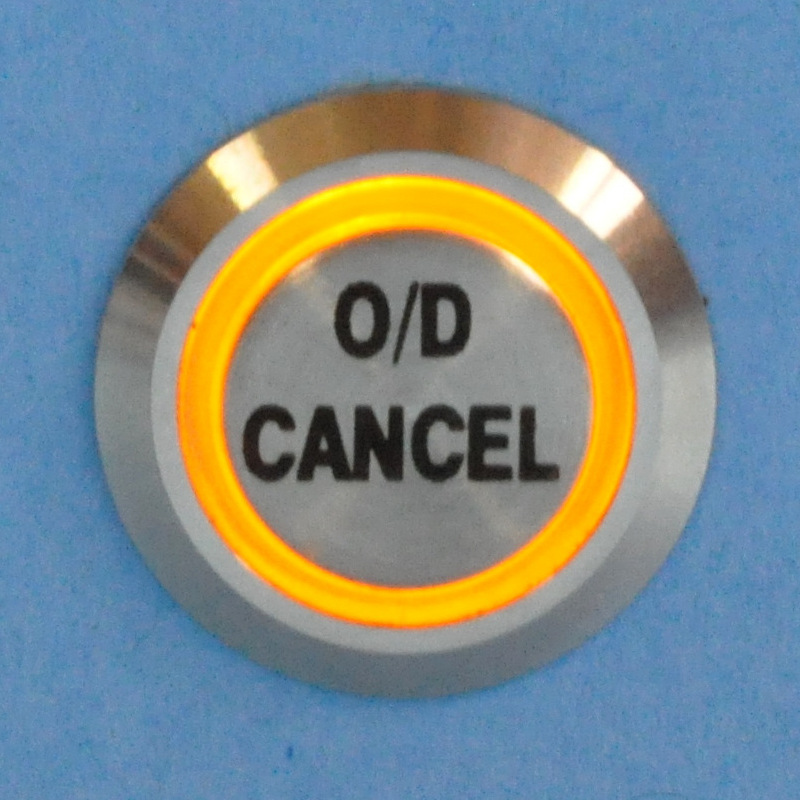
HGM offers a billet push-button OD Cancel switch with ring LED that can be used for overdrive cancel.
Using the HGM Billet Switch
Locate a position that is easy to reach from the driver's seat.
Drill a 19mm or 3/4" hole for the switch.
Install the switch from the front with the o-ring in place.
Install the nut on the rear of the switch. Tighten gently.
There are four wires on the switch harness as follows:
Wire Color | Function |
|---|---|
Black | LED Ground |
Red | LED Power |
Green | Switch Common |
Yellow | Switch Normally Open |
The black and yellow wires are normally supplied connected together into a ground lug. The LED can be safely powered by 12V, as there is a resistor in the switch.
Switch Connections to the Controller
The green wire on the switch connects to the COMPUSHIFT wire labelled "O/D CANCEL"
The red wire from the switch connects to the COMPUSHIFT wire labelled "O/D CANCEL LED"
Using the Switch
After the vehicle is started, the overdrive function is enabled. This default can usually be adjusted in the controller settings.
Press the switch once to disable overdrive. The LED ring will turn on.
Press the switch again to enable overdrive. The LED ring will turn off.