
Installation Inside the Vehicle
Locating and Mounting the Controller
Look inside your passenger compartment and decide where to mount the COMPUSHIFT Mini controller.
It needs to be in a dry, cool, secure location -- the farther away from a heater outlet, the better.
The controller needs to be located in the vehicle near a source of ignition-switched power.
One good place is under the passenger or driver-side dash, but you can also mount the controller on the floor pan or under a seat – provided there's at least 1" of clearance and free-flowing air around all sides. Make sure the engine exhaust system is not heating the spot where you plan to mount it.
Carefully consider the mounting location. The unit is not waterproof so never mount the controller in the engine compartment or under the vehicle. Extreme shock and vibration, high temperature, or high input voltage can damage the unit. You will need to make adjustments to COMPUSHIFT Mini during installation, so be sure that the wiring loom will reach where you can read and adjust it.
A section of tape with hook-and-loop fasteners (Velcro) has been provided to mount the controller. Apply the hook side of the tape to the back of the controller. Apply the loop side of the tape to mounting location.
For now, leave the controller where it can be used during final checkout, calibration and tuning.
Routing the Wiring Harness
The COMPUSHIFT Mini must be mounted inside the vehicle, so the wiring harness to the transmission needs to be routed through the firewall.
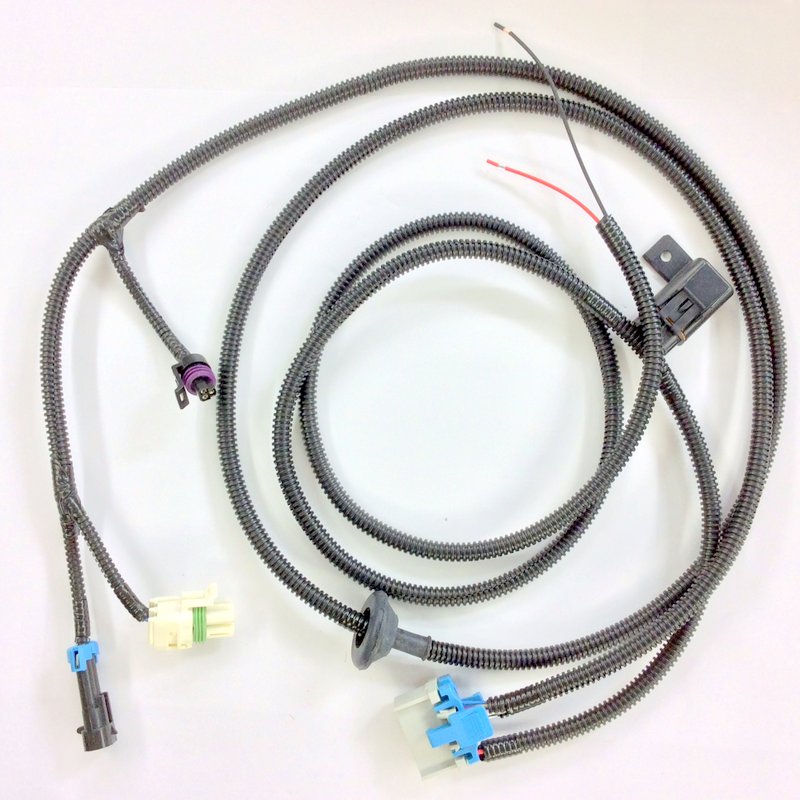
The wiring harness is equipped with suitable rubber grommet that can moved along the wire harness to the desired position.
To fit the grommet, you will have to drill or punch a 1.25" hole through the firewall in an appropriate location. The controller-side connector at the end of the wiring loom is larger than the 1.25" hole, so it the harness must be pushed through the firewall from inside the vehicle rather than up from the transmission.
Once the harness is though, it can be routed along the right side of the transmission and installed.
Connecting to Vehicle Power
The power section of the wiring loom is a separate branch from the section that goes to the transmission.
This lets you mount the controller away from the power source as needed.
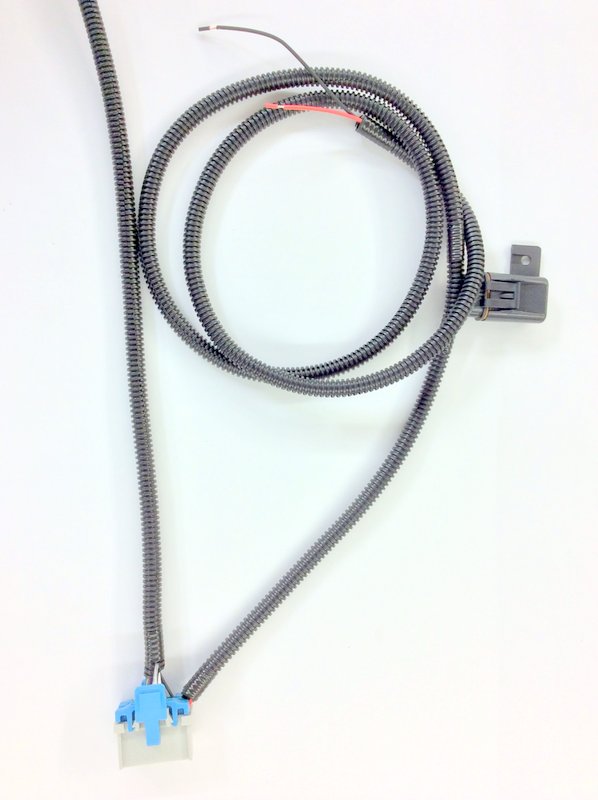
The power section of the wiring loom has a dedicated fuse, and can be shortened as necessary.
Connect the red wire to a source of switched 12 volt power.
Connect the black wire to a good ground connection, preferably using a bolt to clean sheet metal through the supplied lug.
Connecting to an Electronic Speedometer
The COMPUSHIFT Mini can drive an electronic speedometer.
If desired, connect the purple wire with a white stripe to the signal input of your electronic speedometer.